
Installing the Controller
Recommended to be installed on interior. Can be placed outdoors in approved outdoor electrical enclosure. Do not use Metal as it will degrade signal strength.
Nexkey Controller
Digital Admin Key (See Admin Guide)
Mounting Hardware (2x #8 screws)
Screw Driver (Flat Head .125”)
The Nexkey Controller Kit includes:
Plug in Power Supply (24V DC, 1 A standard)
-12V DC, 2A Available upon request
Gang Box Adapter (Available upon request)
Recommended Installation
Install above door frame, within 20’ of door. Mounting higher and as closest to the door allows for better signal strength.
Installation Tips
Before starting install, you should have a digital key to the device. Create an account in the Nexkey application. If a key is not available, contact Nexkey Support.
Controller supports Fail Safe or Fail Secure lock hardware.
Controller can be wired to battery backup or UPS for no interruptions.
You can rekey the lock and it will not affect entry with the Nexkey system.
Make customer aware that existing hardware can affect system if there are other existing locks (deadbolts, swing bolt, etc.) not controlled by Nexkey, we do not have visibility into actions.

Below Ceiling

Above Drop Ceiling
Mounting Controller to the Wall
Install Controller above door on interior. Materials of building may affect signal strength. Controller can be hidden in drop ceiling, out of visual line of sight. Higher and closer the better! Controller should be mounted using (2) #8 screws, double sided Velcro or 3m adhesive.
Plug Controller in local outlet.
Power supply should be mounted in a location where it will not be unplugged accidentally.
If placing in a watertight box, the use of metal will degrade the Wi-Fi and overall signal strength.
Wiring the Controller to Power Supply & Electrified hardware
12 or 24vdc power supply can be used.
The Controller has two relays onboard each one rated for 2.0 Amps.
Jumper wire is required to deliver power to the lock when using a single power supply (between terminals 1 & 4).
Verify that the power supply has enough amperage to unlock the door. Also take note of the in-rush current.
If lock hardware is of a higher amperage, a separate power supply should be used.
Terminal 1 of the Controller is on the same side as the LED indicators.


Connecting to Wi-Fi
The Controller will only connect to a 2.4Ghz network.
Connecting to Wi-Fi enables remote unlocking, text keys and business hours functionality.
If you don’t need remote unlocking, text keys and business hours functionality, it isn’t necessary to connect to Wi-Fi.

Step 1
Navigate to the settings of the Key and scroll to Wi-Fi config.
Step 2
Enter password, save. The controller will configure and you’ll get a green checkmark.
Step 3
On the Controller the Power and Wi-Fi LEDs will be blinking.
Step 3
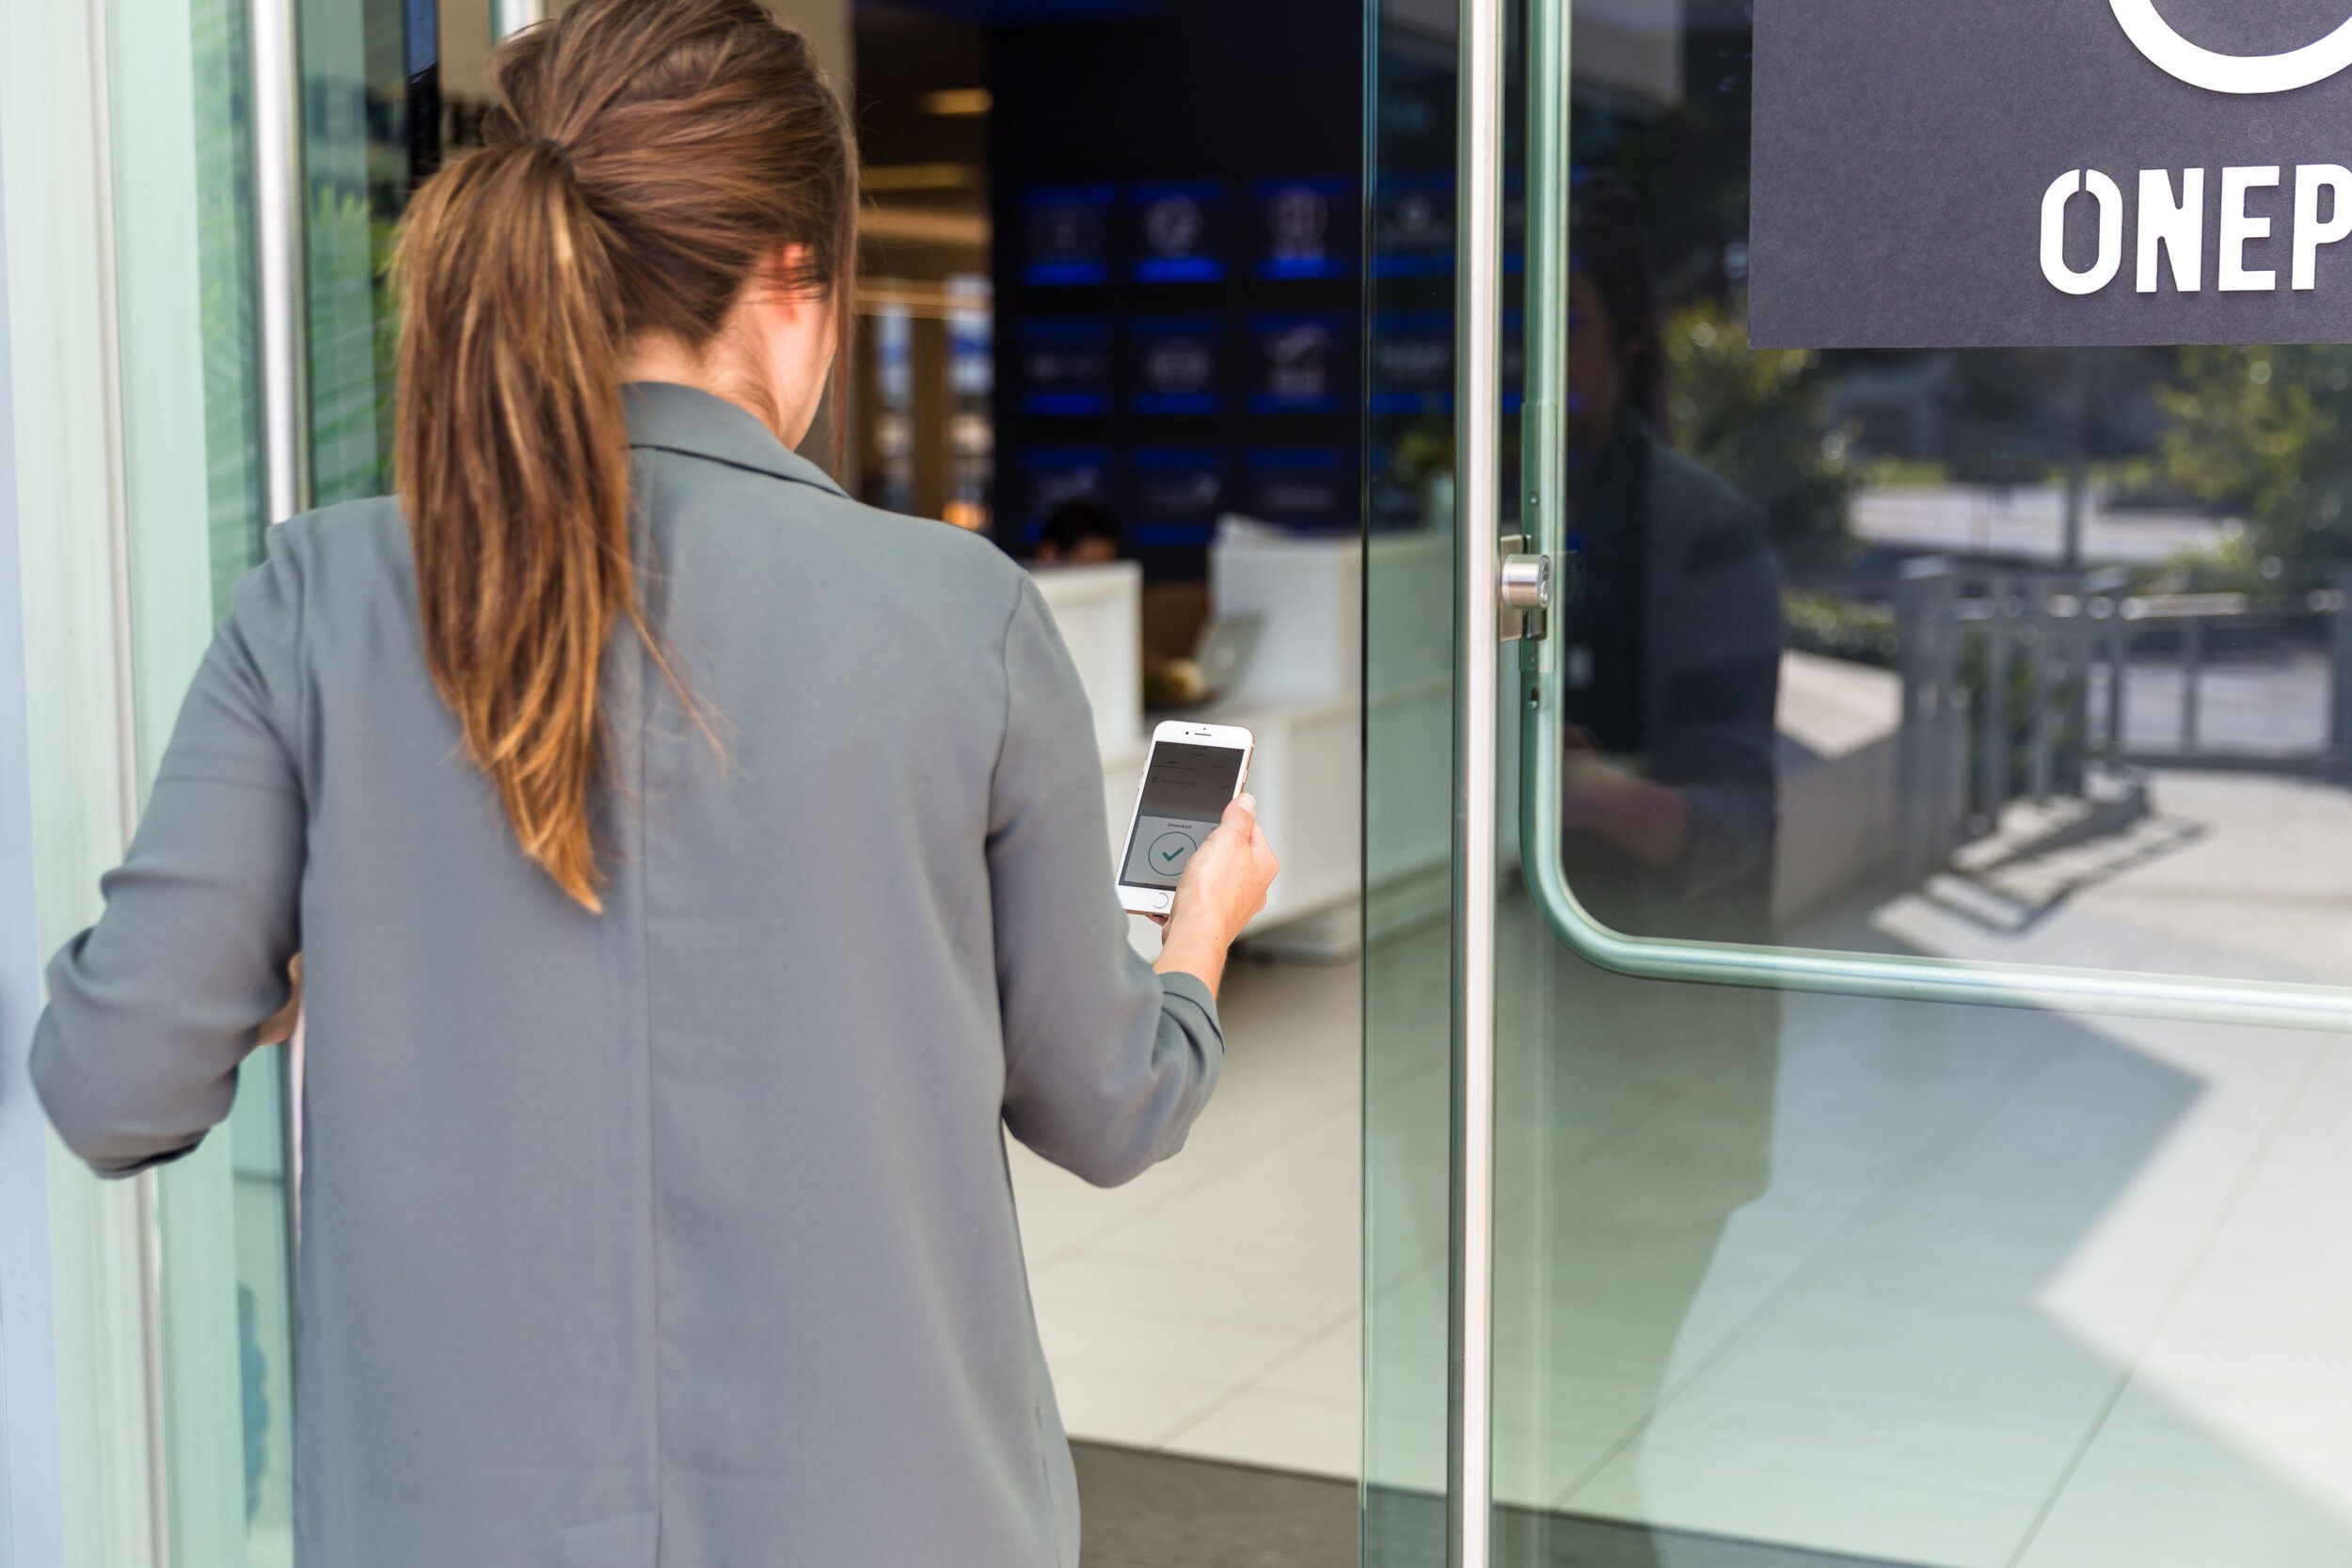
Navigate to the unlock screen and unlock the door under the Nearby Tab. LEDs on the controller will turn solid green when door is unlocked.
Step 4
To test that the Wi-Fi is connected, go to the Unlock Screen and click on the remote tab. The Controller will display Online. Tap the key to unlock the door. LEDs on the controller will turn solid green when door is unlocked.
If you do not receive a green checkmark, try to power cycle (unplug for 15 seconds) the device and try again.

The Controller’s Wi-Fi status (Offline/Online) is displayed in the unlock tab.
Testing the Controller
Unlock door locally
Step 1
From the app in the Unlock Tab the Controller should show up under Nearby.
Step 2
Tap the Controller, wait for unlock checkmark, verify the door unlocks.
Step 3
Verify the door relocks after it is opened and closed, adjust relock time if needed.
Unlock door Remotely (Wi-Fi)
Step 1
From the app in the Unlock Tab the Controller should show up under Remote and will indicate it’s online.
Step 2
Tap the Controller, wait for unlock checkmark, verify the door unlocks.
Step 3
Verify the door relocks after it is opened and closed, adjust relock time if needed.